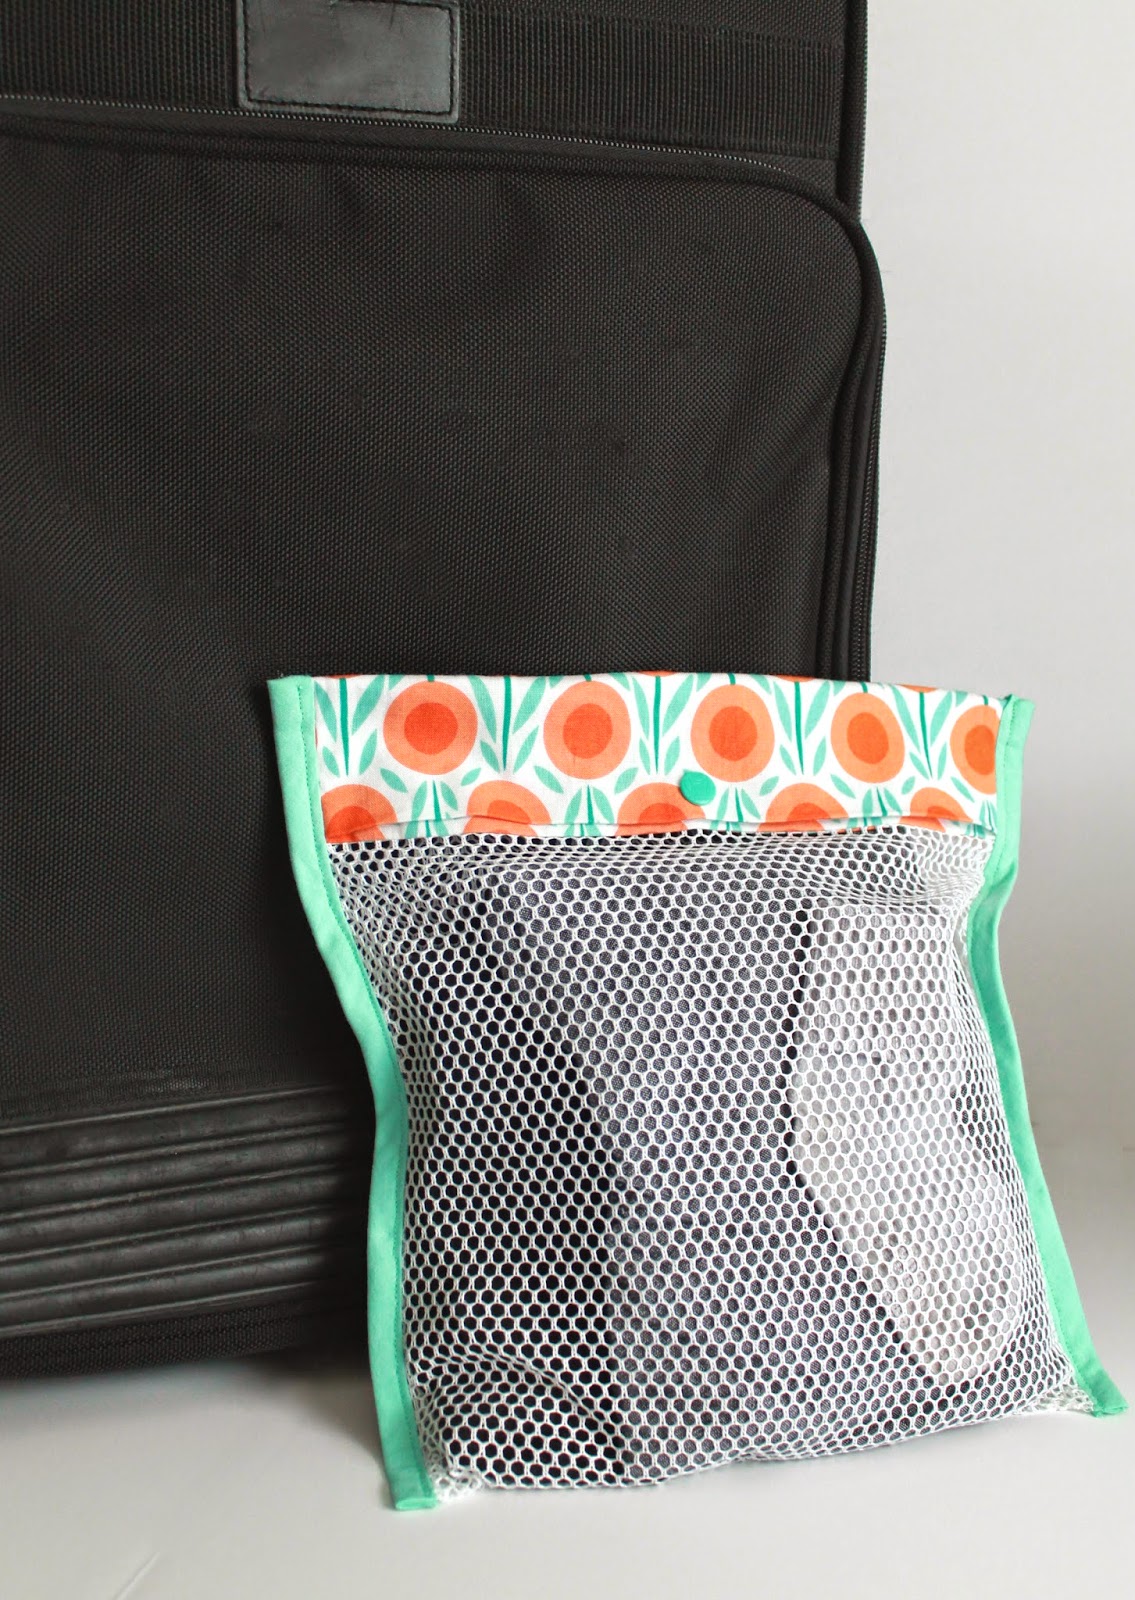
Sew a simple mesh bag without a zipper, great as reusable produce bags or anytime you use a gallon freezer bag for organizing.
Vacation is coming. I've been singing "Holiday Road" for a couple of weeks now. The Peanut is not amused. And it's almost time to pack. When I pack for The Peanut I use gallon plastic freezer bags. Into each bag goes one complete outfit (top, bottom, socks, undies). One bag per outfit. As many bags as days in our trip plus two (so a 7 day trip = 9 bags, because you never know). At one point I had thought of labeling them with the days of the week, but then I realized I needed the flexibility to switch a day's outfit based on weather or activity. So unlabeled bags go into the suitcase and each morning I can present two bags and let The Peanut choose her outfit for the day. At the end of the day the used clothes go back into the bag they came out of. Dirty clothes are separated from clean clothes and there's no digging through the bottom of the suitcase to find small socks. But the plastic bags get beat up. And buying new each time adds yet another expense to a trip. It was time for a reusable solution in the form of a simple mesh bag.
Of course these bags could also be used for keeping one's delicates safe in the laundry, containing your unmentionables in your drawer, and gathering your produce at the grocery store or farmers market. However you'd like to use them, you too can make your own zipper-less, drawstring-free mesh bag.
This post contains affiliate links. That means if you click it and buy it, I'll make a teeny, tiny percentage of the purchase price at no additional cost to you. And just to be sure you only click what you want to click, all those links are clearly marked.
If you’re like me and prefer to print out the tutorials you use, download the 4-page PDF version here for only $1.99! Otherwise, read on for step-by-step directions how to sew a simple mesh bag without a zipper closure.
MATERIALS
- Utility/Weavers Mesh
- Quilting Cotton, for Inner & Outer Flaps
- Coordinating ½″ Double Fold Bias Tape
- Center Closure: Snap, Velcro, or Button (one per bag)
 |
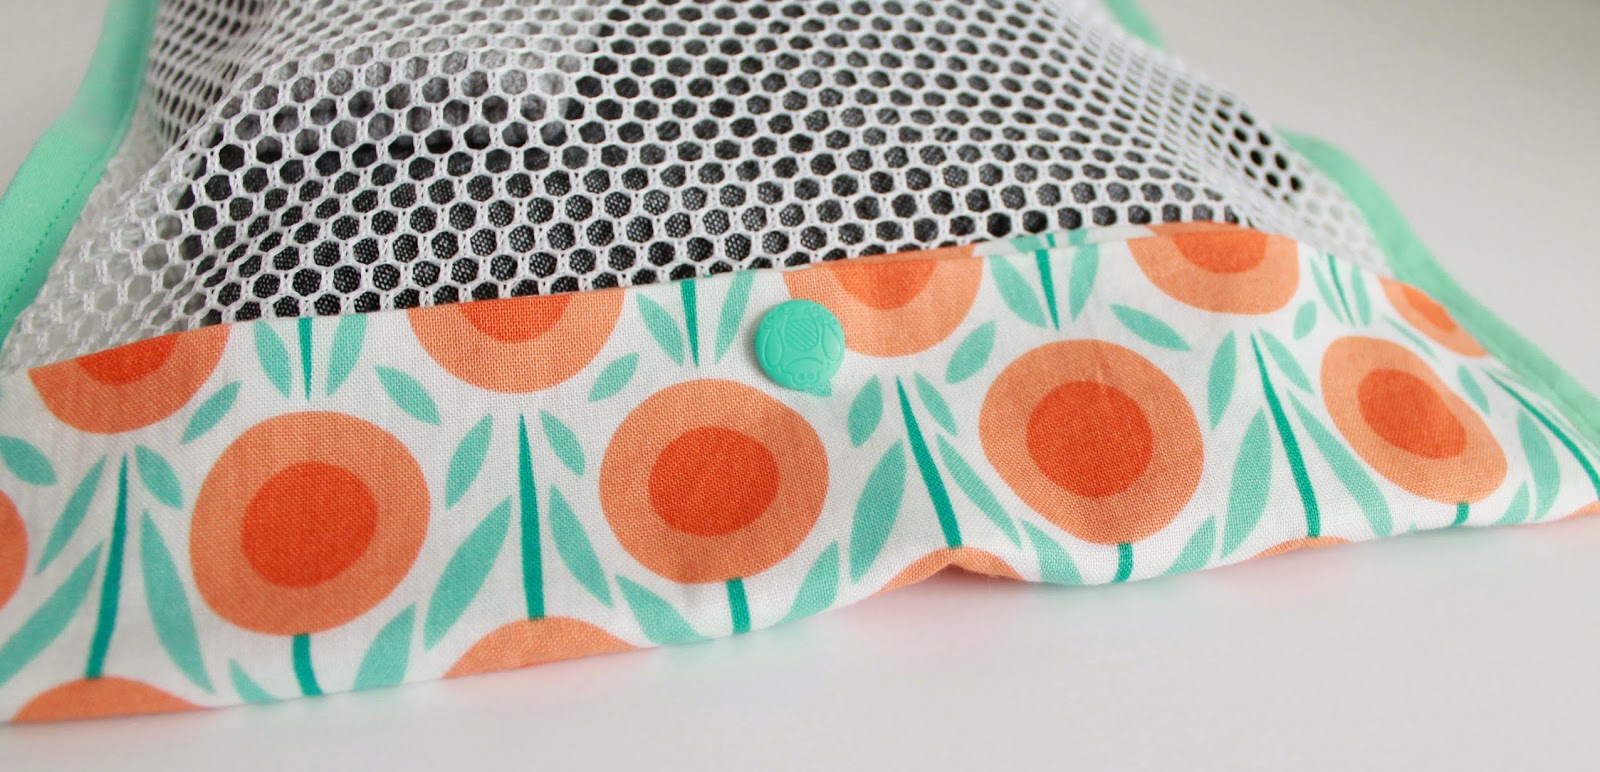
| I've used Babyville Boutique plastic snaps [Amazon affiliate link] as my center closure. You could also use a sew-in snap, a button, or Velcro. |
CUTTING
NOTE: The Utility/Weavers Mesh stretches easily, be careful to square-it-up as you cut so that your final piece isn't longer or narrower than you expect it to be. The final bag should measure 10 ½" x 11".
Utility/Weavers Mesh
Main Mesh: 20 ½″ x 10 ½″; cut 1
Accent Fabric
Outer Flap: 6″ x 10 ½″; cut 1
Inner Flap: 5″ x 10 ½″; cut 1
CONSTRUCTION
NOTE: This project uses a ½″ seam-allowance throughout in order to catch as much of the mesh material in the stitching as possible. Likewise you should use a short stitch (2 or less), even when top-stitching, to optimize the amount of stitches catching the mesh.
ATTACH THE FLAPS
1. Lay Inner Flap fabric right side up.
2. Place Main Mesh on top, align 10 ½” raw edge of each fabric. Pin.
 |
| Step 2: Pin the mesh and the inner flap along raw edge. |
3. Roll up just the Main Mesh fabric until over half of the Inner Flap fabric is visible.
 |
| Step 3: Roll the mesh fabric. |
4. Fold the Inner Flap over the rolled-up Main Mesh and align its raw edge with the pinned raw edges. Re-pin catching all three layers of fabric.
 |
| Step 4: Create a fabric burrito aligning all three raw edges. |
5. With a short stitch and with a ½” seam-allowance (to be sure to catch as much of the mesh fabric in your stitching as possible), sew through all three layers; avoid catching the rolled/encased fabric in your stitches. Press—just your stitches, not the entire fabric burrito.
 |
| Step 5: Stitch through all three layers. |
6. Turn the Inner Flap right side out: pull the Main Mesh out through one of the Inner Flap side openings. Press.
 |
| Step 6a: Turn the inner flap right side out. |
 |
| Step 6b: Press. |
7. Repeat Steps 1-6 with the Outer Flap fabric on the opposite end of the Main Mesh fabric.
INSERT THE CENTER CLOSURE
8. Find the center of the Outer Flap and measure ¼” up from the top, folded edge. Attach your snap/button hole/Velcro so that the bottom edge is ¼” from the top, folded edge.
 |
| Step 8: Mark position of center closure. |
9. Flip the entire piece over. Find the center of the Inner Flap and measure up ¼” from the Main Mesh edge. Attach the companion snap/button/Velcro so that bottom edge is ¼” from the Main Mesh edge.
 |
| Step 9: Insert center closure on opposite flaps as directed. |
CONSTRUCT THE BAG
10. Flip the entire piece over again. Mark a line on the Outer Flap, ½” up from the Main Mesh edge.
 |
| Step 10: Mark the outer flap 1/2" from mesh seam. |
11. Fold the Main Mesh until the top, folded edge of the Inner Flap is aligned atop the marked line from Step 10.
12. Fold the Outer Flap along the marked line from Step 10 onto the Inner Flap. Press. Pin Edges of flaps.
 |
| Step 12: The backside of the piece, picture here, clearly illustrates how the top flap folds. This keeps the stress off the Utility Mesh seam. |
13. Pin the bias tape along one side extending ½” beyond the top and the bottom of the bag. (Optional: You could be proper here and open your bias tape to stitch it in place before folding it over the raw edge of the bag and continuing with Steps 14 & 15. But I was sewing seven of these suckers at once and those 14 extra lines of stitching felt daunting to me, so I went down and dirty and just pinned the bias around the raw edges and sewed once. It worked for me. Do what works for you.)
14. Open the bias tape and fold it down over the back of the bag. Refold and pin it in place encasing both edges at the corner. Repeat at the other end.
 |
| Step 14a: Open bias tape and fold raw edge over bag and into itself. |
 |
| Step 14b: Pin. |
15. Edge-stitch with a short stitch (reminder: the short stitch is ensures you catch as much of the mesh fabric in your stitching as possible).
16. Repeat Steps 13-15 on the opposite side of the bag.
 |
| Completed mesh bag! |
YOU'RE DONE!
Quick Usage Tip
To open the bag, flip the Outer Flap inside-out to the back and you’ll be able to access the full opening of the bag. Remember the old-school plastic sandwich bags? Before ziplocks? It’s the same concept and works the same way. Once your bag is full, flip the Outer Flap back in place and you’re good to go.
 |
| Quick Tip: Flip the out flap inside-out and to the back to access the full opening of the bag. |
I made these bags to replace the gallon storage bags I use whenever I pack a suitcase for my preschooler. Add a few inches before you sew and you could do the same with your own outfits. Of course these would also work as lingerie bags (a thoughtful gift for a bride), itty bitty sock laundry bags (for a mom-to-be), or produce bags (an excellent grab-bag Christmas gift as we all ditch plastic bags). I currently also use gallon storage bags as project bags for my sewing: fabrics, pattern, thread, and notions all in one place ready to sew. I may just have to whip up some more of these mesh versions for my sewing room.
If you use this tutorial, I’d love to see and hear about your results. Be sure to use #TIWsimplemeshbag and #theinspiredwren, and tag @theinspiredwren on social media!
If you use this tutorial, I’d love to see and hear about your results. Be sure to use #TIWsimplemeshbag and #theinspiredwren, and tag @theinspiredwren on social media!
 |
| The completed bag measures 10 ½" x 11"; the same as a gallon freezer storage bag. |
PS -- Thanks for reading to the end. Of course, now you need a larger bag to carry your new mesh bags to and from the market! Try the leak-resistant Ripstop Reusable Bag; the all-cotton, self-lined 3-10 Tote, or the classic Lined Canvas Tote. ~Ren


Ren Murphy writes for The Inspired Wren.
___________________________________________________
You should really see all that goes into each project!
Daily updates on Instagram (and Flickr) of works-in-progress will give you that behind the scenes view you’re looking for, and sneak peeks of First Tuesday Tutorials, too.
___________________________________________________
The Inspired Wren is a participant in the Amazon Services LLC Associates Program, an affiliate advertising program designed to provide a means for sites to earn advertising fees by advertising and linking to amazon.com.


