
Sew up this quick, self-binding Pocket Tissue Pack Cover to help you smile through the sniffles.
This month's tutorial is a quick one as I play catch up from a Summer's-full back-log. But it's one I needed. As we head back to school and into fall, I foresee many sniffles and runny noses. I'll stash a pack of pocket tissues in my bag and another in my coat pocket, so I whipped up these quick, self-binding pocket tissue packet covers from my scrap stash to make me smile every time I have to reach for one. And you can, too.

I first sewed a tissue case with a horizontal opening. When I went to put the tissues from my coat pocket into it I realized that packet opened on the short end. So I sewed a case with a short-end opening. Then when I went to stock more tissues I could only find packs with horizontal openings. Really?!
I'm including instructions how to sew both tissue packet covers for whichever pocket packet type you find. The cover features openings that are off-center to accommodate the tissue packets currently on the market and self-binding accent fabric which makes this project a super quick sew.

Ready to make your own?
Get the printable, ad-free PDF tutorial for easy reference at your sewing machine—or follow along with the step-by-step photos below.
Ready to make your own?
Get the printable, ad-free PDF tutorial for easy reference at your sewing machine—or follow along with the step-by-step photos below.

MATERIALS
- Tissue Pack Make a note if it opens across the long (horizontal) or the short end (vertical).
- Quilting-weight fabric for the outer Shell*
- Coordinating quilting-weight fabric for the Lining and self-binding*
- Coordinating thread and appropriate needle for the fabric
- OPTIONAL: One piece ¾″ wide Ribbon cut 1 ½″ long
*See Cutting for the amount of materials needed. I was able to use scraps from previous projects. My favorite source for small amounts of fabric is the remnant bin at my local fabric store, but you could even sew up a few covers from just two fat quarters.
 |
| Make a note of where the tissue pack you'll be using opens before you start cutting. |
CUTTING
The dimensions listed here will create a final Cover 4 ½″ wide x 2 ¾″ tall x 1″ deep. Note that the cutting is very different depending on whether you are making a cover with a horizontal or a vertical opening.
Horizontal Opening Cover
Outer Shell Fabric: 7″ x 6″ cut 1
Lining/Binding Fabric: 8.5″ x 6″ cut 1
Vertical Opening Cover
Outer Shell Fabric: 4″ x 10″ cut 1
Lining/Binding Fabric: 4″ x 11.5″ cut 1
CONSTRUCTION
All seam allowances are a ¼" throughout.
1. With the Shell fabric and the Lining fabric right sides together, sew one matching edge (on the Horizontal cover this is the 6" edge; on the Vertical it’s the 4" edge).
2. Sew the opposite edge; because the Shell is shorter than the Lining the piece will not lie flat at this point.
 |
| Step 2: Sew matching edges; horizontal (l), vertical (r). |
3. Turn right side out. Finger press the seam-allowance toward the Lining. Press flat, creating even 1/4" accent borders of the Lining fabric on either side of the Shell.
 |
| Step 3: Press flat creating even accent borders; horizontal (l), vertical (r). |
4. With the shell side up, fold sewn edges toward the center as follows (both openings are set off-center to accommodate the current tissue packs on the market):
Horizontal: left side in 1.5"; right side in until both sides meet/touch (2").
Vertical: top side down 1.5"; bottom side up until both sides meet/touch (3.5").
 |
| Step 4: Fold in sides until they meet; horizontal (l), vertical (r). |
5. OPTIONAL: Fold the ribbon in half and tuck it into an open seam, aligning raw the edges and the side of the ribbon with the side of the accent border. I prefer to do this on the shorter folded-in piece.
 |
| Step 5 (Optional): Tuck ribbon into an open seam; horizontal (l), vertical (r). |
6. Stitch each open side; in addition to back-stitching/lock-stitching at the ends, I also like to reinforce the point where the edges meet by back-stitching. Finish the raw edges using your preferred method (I use pinking shears).
 |
| Step 6: Stitch each open side; horizontal (l), vertical (r). |
OPTIONAL: You can stop here, and skip the next step. Turn your tissue cover right side out and you're done! Or you can move on and box the corners.
7. Pinch one corner so that the stitched seam is centered on the triangle created and fold the seam allowance away from the tissue cover opening. Stitch across the triangle, perpendicular to the seam allowance and 3/8" down from the corner point. Do not trim (it’s small enough that there’s no need and the extra fabric helps the cover keep its shape). Repeat on the remaining three corners.
 |
| Step 7 (Optional): Box each corner with seam allowance away from the tissue cover opening. |
8. Turn the cover right side out, push out all the corners.
 |
| Step 8: Done! horizontal (l), vertical (r). |
Preferer a printable version?
Get the ad-free PDF tutorial here.
YOU'RE DONE!
This one makes a great little gift for a thank you, for teachers, for grown-up party favors. It's great for weddings or even bridal showers. I whipped up 30 for my kid sister's bridal shower this past weekend. I was worried they were too wedding-y but a toast from our mom and a sentimental gift proved me wrong as the happy tears flowed.
If you use this tutorial, I’d love to see and hear about your results. Be sure to use #TIWtissuepackcover and #theinspiredwren, and tag @theinspiredwren on social media!
 |
| Paired with the classic poem, the tissue pack cover makes a great bridal-shower or wedding favor. |
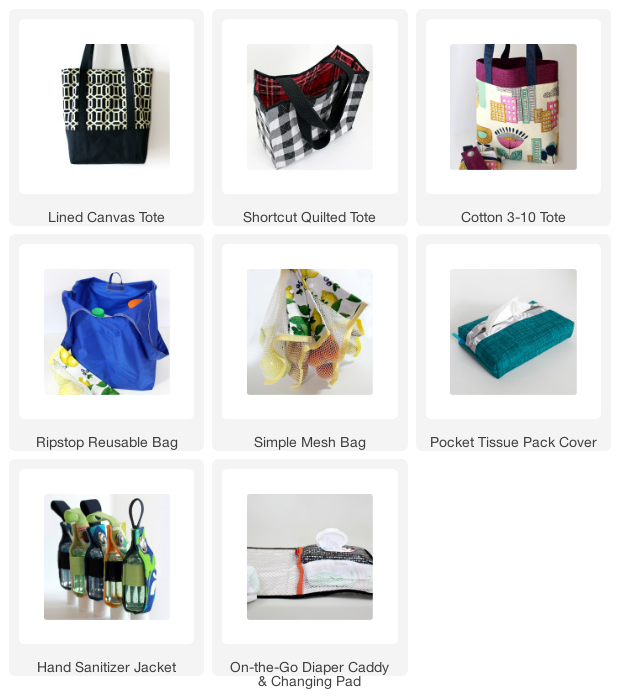
PS -- Thanks for reading to the end. Of course, now you need a bag to put your new Pocket Tissue Pack Cover in! Try the ever-popular, classic Lined Canvas Tote, the all cotton, self-lined 3-10 Tote, or the quick-sew Shortcut Quilted Tote. And be sure to check out these other popular sewing tutorials. ~Ren
Ren Murphy writes for The Inspired Wren.
___________________________________________________
You should really see all that goes into each project!
Summer means more playing than sewing, but you can still catch daily updates on Instagram (and Flickr) of works-in-progress. Get that behind the scenes view you’re looking for, and sneak peeks of First Tuesday Tutorials, too.
___________________________________________________
The Inspired Wren is a participant in the Amazon Services LLC Associates Program, an affiliate advertising program designed to provide a means for sites to earn advertising fees by advertising and linking to amazon.com.