Sew a durable, leak-resistant, reusable grocery bag with Ripstop Nylon!
It's time we all replaced one-use plastic bags. I'd miss the disposable plastic, if I didn't already have a great pattern for a lightweight, leak-resistant, durable market bag ready to go. I sewed up half a dozen in just a few hours and you should, too!
A note about the fabric: This project was designed specifically for use with Ripstop Nylon because it is durable, tear- and water-resistant (less likely to leak!) and can be wiped and machine washed as needed. You'll find Ripstop in the utility section of your fabric store. You'll have the best results with sharp cutters and new needles.
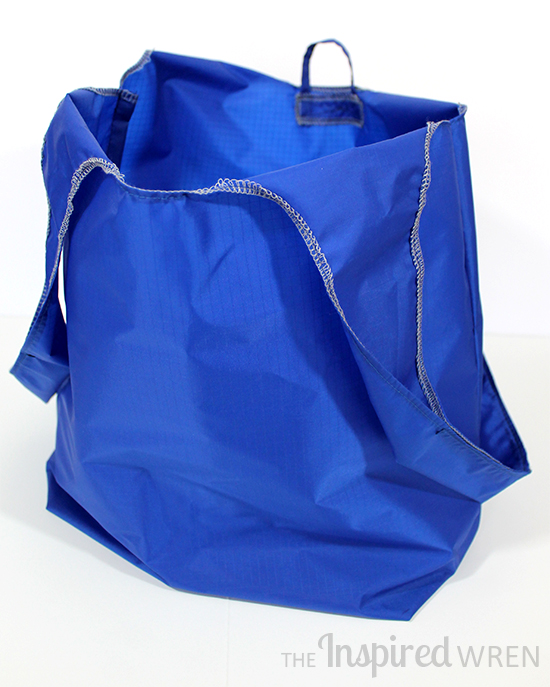
The finishing on this bag is up to you! To keep the bag lightweight and easy to clean, finish the exposed edges with a serger and keep the full utilitarian look (as seen on the green and purple bags here). Roll that serger hem in once and stitch it down for a slightly neater look (blue bag). OR make your own bias tape from the Ripstop (or just reach for the packaged version but know it will add weight and be harder to wipe clean) and create a bound-edge instead of an exposed edge -- a slower sew that will be rewarded with a cleaner finish (not sewn or shown here).
This durable, spacious Ripstop Reusable Bag is a quick sew that will help us all replace one-use plastic bags. One yard of Ripstop Nylon will yield two bags; three yards will give you half a dozen! With no bottom seam, durable leak-resistant side seams, and water repellent fabric, this bag holds up better than an all-cotton version. Consider assigning different colors for specific uses: purple for the meats, blue for your dairy, and green for everything else. Then throw them all in the washing machine whenever you need.
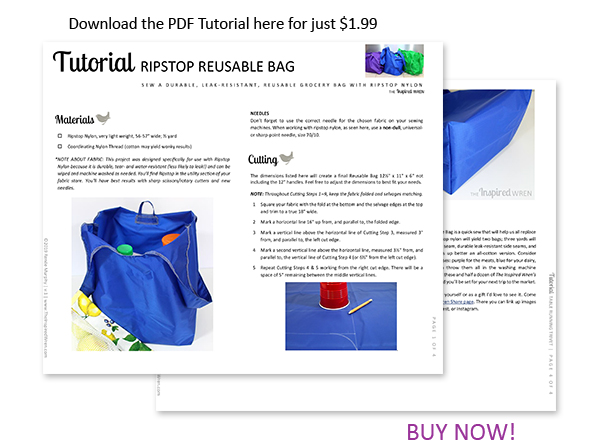
If you'd like full written directions, you can download the 4-page PDF Tutorial here for only $1.99! Otherwise follow along with the pictures below to sew a spacious, durable Ripstop Reusable Bag!
The finishing on this bag is up to you! To keep the bag lightweight and easy to clean, finish the exposed edges with a serger and keep the full utilitarian look (as seen on the green and purple bags here). Roll that serger hem in once and stitch it down for a slightly neater look (blue bag). OR make your own bias tape from the Ripstop (or just reach for the packaged version but know it will add weight and be harder to wipe clean) and create a bound-edge instead of an exposed edge -- a slower sew that will be rewarded with a cleaner finish (not sewn or shown here).
This durable, spacious Ripstop Reusable Bag is a quick sew that will help us all replace one-use plastic bags. One yard of Ripstop Nylon will yield two bags; three yards will give you half a dozen! With no bottom seam, durable leak-resistant side seams, and water repellent fabric, this bag holds up better than an all-cotton version. Consider assigning different colors for specific uses: purple for the meats, blue for your dairy, and green for everything else. Then throw them all in the washing machine whenever you need.
 |
| Purple for meats; blue for dairy; green for everything else! |
If you'd like full written directions, you can download the 4-page PDF Tutorial here for only $1.99! Otherwise follow along with the pictures below to sew a spacious, durable Ripstop Reusable Bag!
After you've sewn up your dozen or so Ripstop Reusable Bags, you'll also need produce bags. Head on over to The Inspired Wren's Simple Mesh Bags tutorial, and sew up a half dozen snap-closure mesh bags and you'll be ready to head to the market!
 |
| Sew your own produce bags, too! |
If you use any tutorial from The Inspired Wren, I'd love to see and hear about your results. Be sure to use #TIWripstopreusablebag and #theinspiredwren, and tag @theinspiredwren on Instagram and Facebook.
PS -- Thanks for reading to the end. If you're looking for other bags to tote around try the classic Lined Canvas Tote, the all-cotton, self-lined 3-10 Tote, or any of these great bag tutorials! ~Ren
Ren Murphy writes for The Inspired Wren.
___________________________________________________
You should really see all that goes into each project!
Daily updates on Instagram (and Flickr) of works-in-progress will give you that behind the scenes view you’re looking for, and sneak peeks of First Tuesday Tutorials, too.
___________________________________________________


