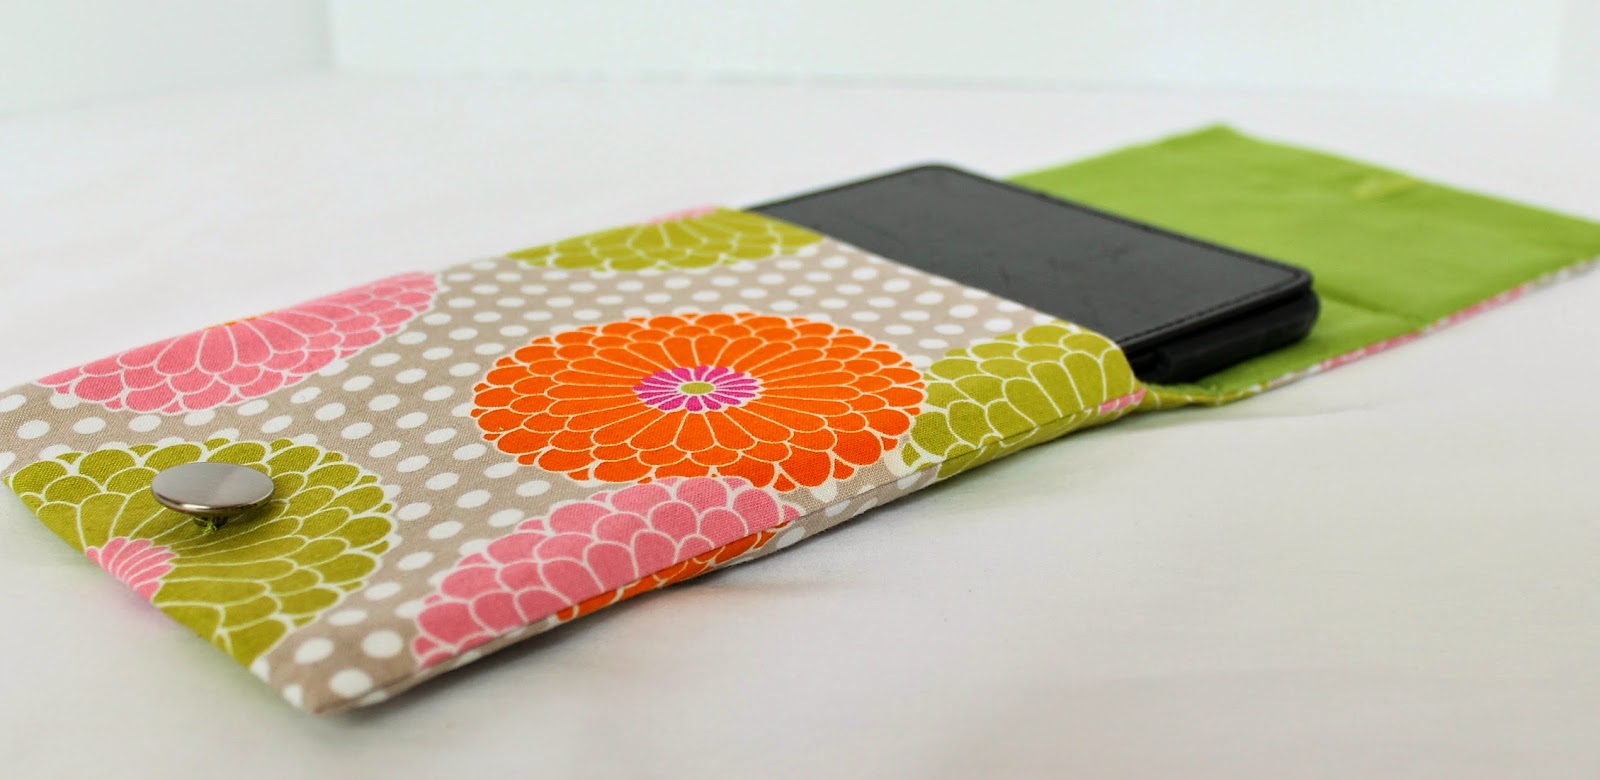
I love my Kindle. It's the best thing ever. I can throw it into my big tote and take a library of books with me wherever I go. As a known introvert, one of my favorite activities is taking myself out to lunch with a good book. Before, when I got to the table and dug my Kindle out, I used to have to brush off all the crumbs and junk from my tote (I really should clean that out), then I'd have to figure out what to prop it on so I could read hands-free: the ketchup bottle, the sugar packet holder, maybe a napkin roll if the waiter left an extra one on the table. I needed an envelope case. And I needed a portable stand.
I bet you do, too. Or maybe your mother does! This envelope case with a prop-up stand built right into the flap can be sewn to fit ANY tablet, and it's a quick afternoon project. There are still a few days to whip one up for the tech-savvy mama in your life.
If you’re like me and prefer to print out the tutorials you use, download the 4-page PDF version here for just $1.99! Otherwise, read on for step-by-step directions how to sew your own custom-fit case.
 |
MATERIALS
- Quilting-weight fabric for Outer Shell*
- Coordinating quilting-weight fabric for Lining*
- Medium-weight interfacing*
- ½″–¾″ Button
- Heavy cardboard, or art board
The cardboard that I use here was once the back of a drawing tablet and is just shy of ¼″ thick.
- Coordinating thread, appropriate needle for the fabric chosen, and if possible, a zipper foot.
*See CUTTING for the amount of materials needed—the size of your tablet will dictate how much you need. I was able to use large scraps from previous projects. The remnant bin at your local fabric store would also be a great source of material for this project.
CUTTING
The example numbers here fit my basic Kindle, 6″ display, with a leather cover attached. You will need to do your own Sewing Math based on your tablet’s measurements. I leave the leather cover on the Kindle while in the envelope case so I measured my Kindle with the cover on.
You will need three accurate measurements: width, length, depth. I found placing the tablet on a table and measuring with a seam guide gave me the best measurement of depth.
ESTABLISH FABRIC WIDTH
Add together the width and the depth of the tablet, then add in wiggle room (I chose ⅛″ but ¼″ would also work), and finally add in double your seam allowance. Like this:
Tablet Width + Tablet Depth + Wiggle Room + (Seam Allowance x 2) = Fabric Width
Example: 4 ¾ + ⅝ + ⅛ + (¼ x 2) = Width
4.75 + .625 + .125 + .5 = 6
ESTABLISH FABRIC LENGTH
Multiply the length of the tablet times three. To that figure add double the depth of the tablet, and finally add in double your seam allowance. Like so:
(Tablet Length x 3) + (Tablet Depth x 2) + (Seam Allowance x 2) = Fabric Length
Example: (6 ¾ x 3) + (⅝ x 2) + (¼ x 2) = Length
(6.75 x 3) + (.625 x 2) + (.25 x 2) = Length
20.25 + 1.25 + .5 = 22
CUT THE FABRIC AND INTERFACING
Using the dimensions you calculated above, cut one Shell Fabric, one Lining Fabric, and one piece of Interfacing. So for my Kindle in this example, I cut one of each 6″ wide by 22″ long. At this point, set the cardboard aside uncut—we could do the Sewing Math for that now, but it’ll be easier to do it when we’re ready for it.
NOTE: I once had a professor of industrial design model making who loved the phrase “square to the world,” meaning model pieces cut to perfect measurements and angles. This is one project without a lot of wiggle room, therefore cutting “square to the world” is important. Mark twice, measure thrice, then cut and sew carefully.
 |
| During my first attempt creating this case I didn't cut carefully and the case was just narrow enough that the Kindle wouldn't slide in. |
CONSTRUCTION
ASSEMBLE THE FABRIC ENVELOPE
1. Attach the interfacing to the wrong side of the Shell fabric.
2. Calculate the length of your tablet plus your seam allowance (in my example: 6.75″ + .25″ = 7″). Measure from one short, raw end of the Shell fabric and mark a line parallel to the short end. Fold the fabric along the line of Step 2 and stitch the sides in place, backstitching or lock-stitching at the beginning and end of each stitch line. Press. Trim the corners at the folded edge.
3. Repeat Step 2 with the Lining fabric.
4. Turn the Shell fabric right side out. Place the Shell piece into the Lining piece, right sides together and align all seam allowances in the same direction (toward the outer edges of the flap. Starting at the top of the flap, sew down one long edge of the flap stopping with the needle in the fabric ¼” (or your desired seam-allowance) past the top edge of the pocket. [Quick tip: I find it helpful to mark the pivot point before I start sewing.] Lift the pressure foot and pivot the fabric to stitch across the top edge of the pocket, then lower the pressure foot and sew, stopping with the needle in the fabric ¼” (or your desired seam allowance) before the edge of the flap. Again lift the pressure foot and pivot the fabric to sew up the opposite long edge of the flap, then lower the pressure foot and stitch to the top. Do not sew across the top, raw edge of the flap. Being careful not to cut the stitches, snip into the corners at the pivot points, and trim away the seam allowance at an angle.
 |
| Step 4: Join the Lining and the Shell fabric together along the side edges of the flap and across the top pocket edge. |
5. Turn the case right side out with the Lining inside the Shell pocket. Press.
6. From the top of the pocket edge, measure and mark the depth of the tablet plus wiggle room (in this example .625″ + .125″ = .75″). Top stitch along this line from side to side of the flap—for a cleaner look, you may want to avoid back-stitching or lock-stitching at the beginning and end of the line, and instead pull threads through to the Lining side of the flap and tie off.
 |
| Step 6: Mark and top-stitch across the flap. |
CONSTRUCT THE PROP-UP STAND FLAP
7. Now we have to do a little more Sewing Math for the cardboard. Measure the length of the flap from the stitch line in Step 6 to the raw edge, subtract 1 ½″ plus your seam allowance, and then divide by two. Like this:
[Length of Flap – (1 ½ + Seam Allowance)] ÷ 2 = Cardboard Length
Example: [6 ¾ - (1 ½ + ¼)] ÷ 2 = Length
[6.75 – (1.5 + .25)] ÷ 2 = Length
(6.75 – 1.75) ÷ 2 = Length
5 ÷ 2 = 2.5
For the width, measure across the sewn flap and subtract ⅛″. This one’s simple at least:
Sewn Width – ⅛ = Cardboard Width
Example: 5.625 - .125 = 5.5
Now cut two pieces of cardboard to those measurements, in this example: 5.5″ x 2.5″. But wait! Don’t ruin your good scissors or rotary cutter, use a utility knife, an x-acto knife, or at least an old pair of scissors.
8. Slide one piece of cut cardboard into the open end of the flap until it is flush against the line of top-stitching from Step 6. Using a zipper foot, top-stitch next to the cardboard—remember, you may want to avoid back-stitching or lock-stitching at the beginning and end of the line, and instead pull threads through to the Lining side of the flap and tie off.
 |
| Step 8a: Slide one piece of cardboard into the flap until it is flush with the previous line of top-stitching. |
 |
| Step 8b: Top-stitch closely along the edge of the cardboard. |
9. Slide the second piece of cardboard against the top-stitching from Step 8. Again, top-stitch next to the cardboard using a zipper foot and tie off your threads.
10. Fold in your seam allowance (here: ¼″) on the raw ends of the flap and press. Edge-stitch the short, top end of the flap closing the opening as you do so.
11. Find the center of the flap width and create a button hole to fit your button. It may be easier to create a button hole parallel to the short end, but I found a button hole parallel to the long side means less side-to-side wiggle for the flap when the case is closed.
 |
| Step 11: Create a button hole centered on the flap. |
12. Sew the button in place, being careful to stitch through the front panel of the pocket only.
 |
| TA DA! |
YOU'RE DONE!
I love that this case protects my Kindle from banging around among the crumbs and detritus in my big tote and also gives me a safe place to easily prop it up when I’m out to lunch by myself. The button doubles as a stop that keeps the tablet from sliding down and I can adjust the height of the prop based on the glare in the room. You can easily look up any tablet’s dimensions on-line to make a quick, custom gift. Or just dive into your stash and sew for yourself like I did.
If you use this tutorial, I’d love to see and hear about your results. Come share your projects on The Inspired Wren Share page.
 |
| Adjust the height of the prop depending on the light in the room and orient your tablet vertically or horizontally as needed. |
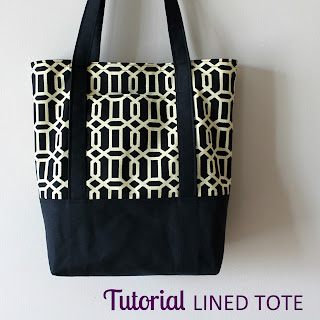
PS -- Thanks for reading to the end. Of course, now you need a bag to put your new Tablet Case in!
Try the 3-10 Tote or the Lined Canvas Tote sewn in coordinating fabric for a perfect set.


Try the 3-10 Tote or the Lined Canvas Tote sewn in coordinating fabric for a perfect set.


Ren Murphy writes for The Inspired Wren.
___________________________________________________
You should really see all that goes into each project!
From my model preferring to dance free rather than pose, to sewing myself into my dress while on the way to an event. Daily updates on Instagram (and Flickr) of works-in-progress will give you that behind the scenes view you’re looking for, and sneak peeks of First Tuesday Tutorials, too.
___________________________________________________
The Inspired Wren is a participant in the Amazon Services LLC Associates Program, an affiliate advertising program designed to provide a means for sites to earn advertising fees by advertising and linking to amazon.com.


